 Save
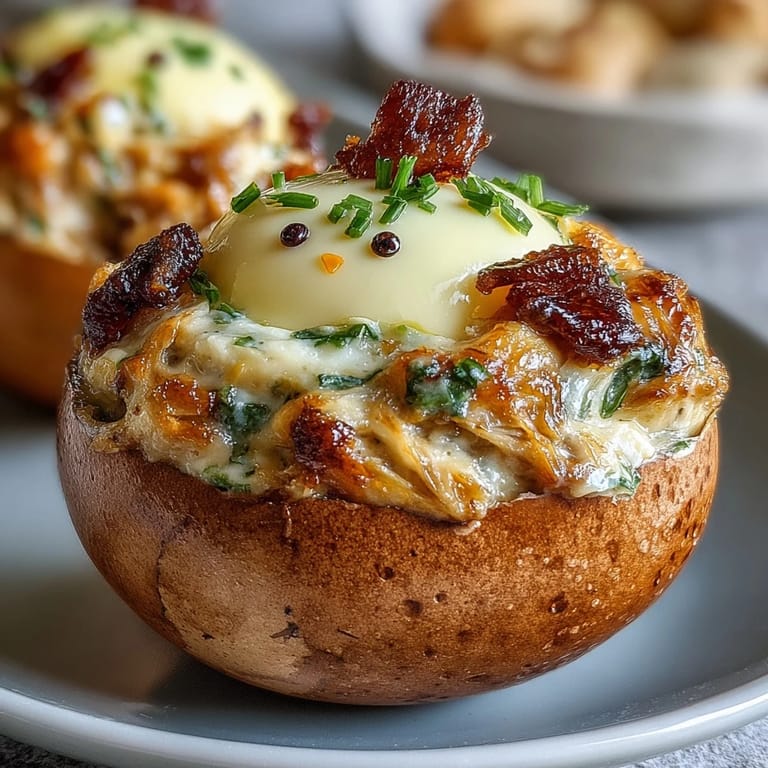
Save My nephew was convinced that Easter eggs should actually look like eggs, not just be colored and hidden. So one April morning, while he watched from a stool with his chin on his hands, I turned a dozen boiled eggs into tiny chicks with carrot beaks and peppercorn eyes. His face when the first one was finished—that mixture of pride and mischief—made me realize this wasn't just a snack anymore, it was a small moment of kitchen magic.
I brought a tray of these to a church potluck once, expecting them to sit untouched while everyone reached for the casseroles. Instead, they disappeared first, and I overheard a woman telling her friend she finally understood why her grandchildren loved Easter so much. Sometimes the simplest things—a detail as small as turning an egg into a creature—remind people that food can be joyful.
Ingredients
- Large eggs: Twelve eggs give you plenty to work with, and the bigger they are, the easier they are to carve without cracking.
- Mayonnaise: Three tablespoons creates a silky filling that pipes beautifully; don't skip it or the mixture will be grainy.
- Yellow mustard: Just a teaspoon cuts through the richness with a subtle tang that keeps the filling from tasting one-note.
- White vinegar: This adds brightness and helps the flavors sing together instead of sitting flat on your tongue.
- Salt and ground black pepper: Season to taste because a pinch of salt wakes everything up.
- Black peppercorns: Twenty-four whole ones become the chicks' eyes, and they're the perfect tiny dot of drama.
- Medium carrot: Sliced thin and cut into triangles and slivers, it becomes beaks and feet that actually look like they belong on a tiny bird.
- Fresh chives or parsley: Optional but lovely as a nest underneath, adding color and a whisper of onion flavor.
Tired of Takeout? 🥡
Get 10 meals you can make faster than delivery arrives. Seriously.
One email. No spam. Unsubscribe anytime.
Instructions
- Boil the eggs with care:
- Place twelve eggs in a saucepan, cover with cold water, and bring to a boil over medium-high heat. Once the water is rolling, cover the pot, remove it from heat, and let the eggs sit undisturbed for exactly ten minutes—this gentle approach gives you perfectly cooked yolks with that bright yellow center every time.
- Cool them down completely:
- Transfer the hot eggs to a bowl of ice water and let them chill for about five minutes. Cold eggs peel like a dream, and you'll hear that satisfying crack as the shell surrenders to your fingers.
- Prep your halves:
- Gently peel each egg and pat it dry with paper towels so the shells won't stick to your hands. Slice a tiny bit off the bottom of each egg so it stands upright without wobbling, then carefully slice off the top third horizontally—this is where patience matters, as a shaky knife hand leads to cracked whites.
- Make the filling:
- Scoop out the yolks into a bowl and place the whites on your serving tray. Mash the yolks with three tablespoons mayonnaise, one teaspoon mustard, one teaspoon vinegar, salt, and pepper until the mixture is smooth and holds together when you pinch it, not soupy and not stiff.
- Fill and mound:
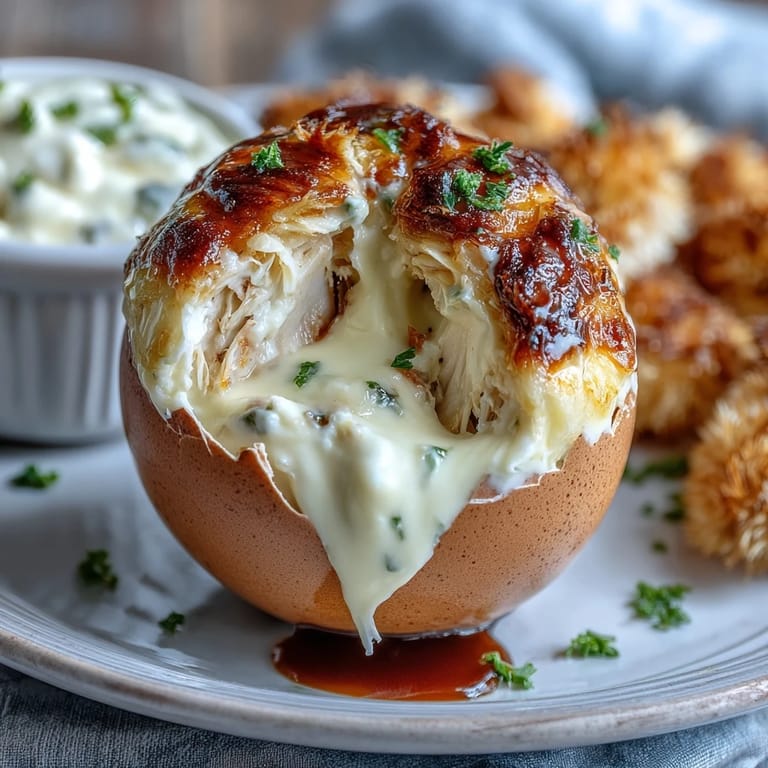
- Using a spoon or piping bag, fill each egg white with the yolk mixture, mounding it slightly in the center to create the chick's head. This mound is important because it gives the egg white cap something to lean against, making your chicks look like they're actually hatching.
- Add the caps at an angle:
- Place each reserved egg white cap back on top at a jaunty angle—not straight, because a chick emerging from an egg wouldn't sit perfectly upright. Tilt it slightly to one side for that just-hatched look.
- Carve and attach decorations:
- Cut small triangles from your carrot for beaks and thin slivers for feet, then gently press them into the yolk mixture where they'll stick. Place two black peppercorns on the front for eyes, and if you're feeling fancy, add a thin line of chives for straw.
 Save
Save Years later, that same nephew—now old enough to help in the kitchen—asked if we could make these again. This time he was the one cutting carrot slivers and pressing peppercorn eyes into place while I kept him company. The eggs tasted the same, but somehow they meant something different, a small tradition we'd accidentally created.
Making Ahead Without Stress
These are wonderfully forgiving if you need to plan ahead for a party or gathering. You can boil and peel the eggs the night before, storing them in a container with a damp paper towel so they don't dry out. Make the filling a few hours early and keep it covered in the fridge, then assemble everything on the morning of your event or even just before guests arrive—the whole assembly takes maybe fifteen minutes once you have your pieces prepped.
Flavor Variations Worth Trying
The basic filling is a classic for a reason, but it welcomes improvisation once you understand its bones. I've added a pinch of smoked paprika for depth, finely chopped fresh dill for brightness, and even a tiny dab of sriracha when I was feeding adults who wanted heat alongside the whimsy. Some people swap Greek yogurt for mayonnaise and swear by the lightness, though you might need a touch more mustard to keep the flavor assertive enough.
Creative Decorating Ideas and Finishing Touches
Once you've mastered the basic chick, the door opens to all sorts of playful variations. Black olives work beautifully instead of peppercorns if you prefer their softness and slight flavor, and roasted red pepper bits make surprisingly convincing combs. Some people add a tiny sprinkle of paprika on top like feathers, or use thin strips of fresh chives for a nest effect that actually makes these look like they're sitting in a bed of grass.
- Try cutting decorative shapes with tiny cookie cutters if you have them—carrot stars, little hearts, whatever matches your party theme.
- A single fresh herb leaf tucked in at the base can look like feathers if you arrange it thoughtfully.
- Remember that these need to stay chilled, so add decorations just before serving if you want them looking their absolute best.
 Save
Save There's something about transforming something ordinary into something that makes people smile before they even taste it. These little chicks do exactly that, and then they taste good too.
Recipe Questions & Answers
- → How do I make the eggs stand upright for decoration?
Slice a small portion off the bottom of each peeled egg to create a flat base, allowing them to stand steadily on a tray.
- → Can I substitute any ingredients in the filling?
Yes, mayonnaise can be swapped with Greek yogurt for a lighter filling, and fresh herbs or paprika can be added for extra flavor.
- → What can I use instead of black peppercorns for the eyes?
Small pieces of black olives can be used as a softer alternative to peppercorns for the chick's eyes.
- → How long can these deviled egg chicks be stored?
They can be made ahead and refrigerated, covered, for up to one day to maintain freshness and flavor.
- → What tools are needed to prepare and decorate the chicks?
A saucepan, mixing bowl, spoon or piping bag, sharp knife, and a small paring knife for decoration are recommended.
- → Are these suitable for gluten-free diets?
Yes, the ingredients used are gluten-free, making these suitable for gluten-free diets.