 Save
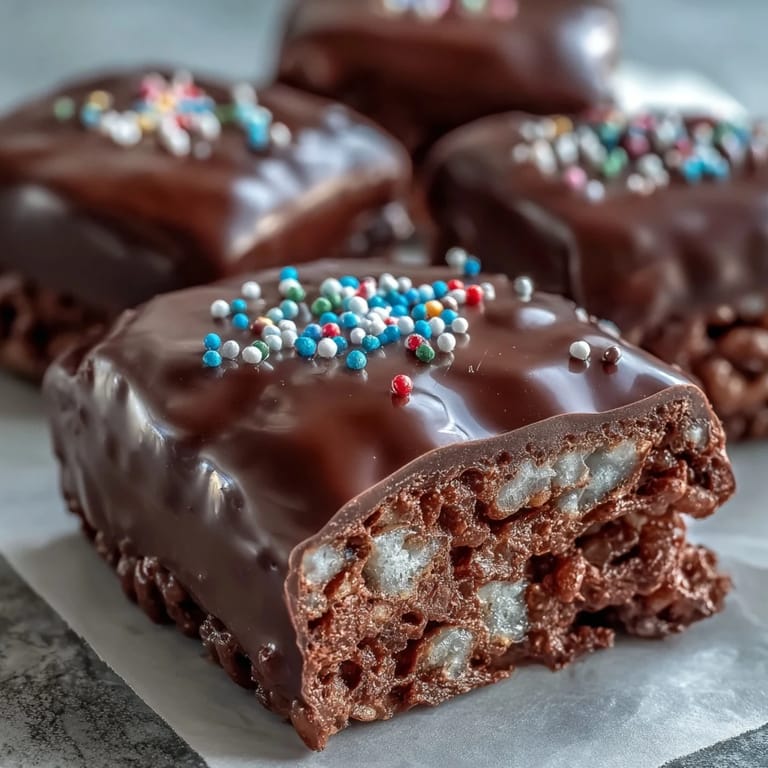
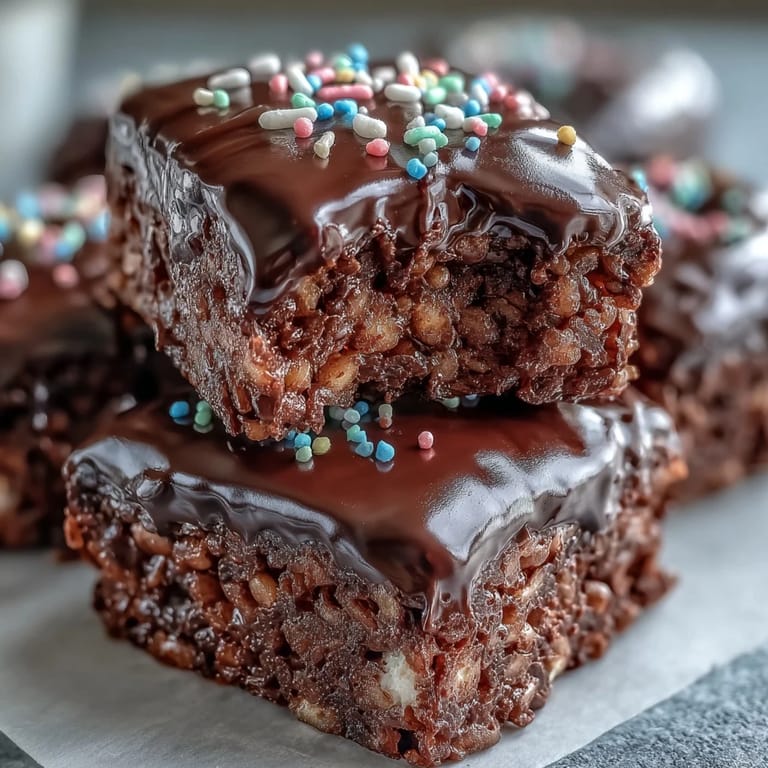
Save My sister used to hide these in the back of the freezer, thinking no one would notice. The chocolate would crack when you bit down, revealing that sticky-sweet cereal center—it was impossible to eat just one. I started making my own batch every time she visited, and now it's become our unspoken tradition. There's something about the combination of textures that never gets old. They disappear faster than I can cut them into squares.
I brought a tray of these to a potluck once, and someone asked if I'd ordered them from a candy shop. The chocolate coating does all the heavy lifting when it comes to presentation. I've learned that pressing the cereal layer firmly into the pan makes all the difference—you want clean cuts, not crumbly edges. Now I make them for birthdays, bake sales, and quiet weeknight cravings alike.
Ingredients
- Unsalted butter (6 tablespoons, plus extra for greasing): This is what melts the marshmallows into that glossy, sticky binder—salted butter can make the treats taste too savory, so stick with unsalted and add salt separately if you want it.
- Mini marshmallows (10 ounces): They melt faster and more evenly than the large ones, creating a smooth coating that hugs every piece of cereal without clumping.
- Rice Krispies cereal (6 cups): The classic snap, crackle, and pop in solid form—make sure it's fresh so it stays crispy after mixing.
- Fine sea salt (¼ teaspoon, optional): A pinch balances the sweetness and makes the chocolate topping taste even richer.
- Semisweet or dark chocolate chips (1 ½ cups): Semisweet is friendly and familiar, dark chocolate adds a sophisticated edge—either way, the oil helps it spread smoothly.
- Vegetable oil or coconut oil (1 teaspoon): This keeps the melted chocolate silky and prevents it from seizing up or cracking once it sets.
- Rainbow sprinkles or chopped nuts (2 tablespoons, optional): Sprinkles add color and whimsy, nuts bring a toasty crunch—both make the bars feel a little more special.
Tired of Takeout? 🥡
Get 10 meals you can make faster than delivery arrives. Seriously.
One email. No spam. Unsubscribe anytime.
Instructions
- Prep your pan:
- Lightly grease an 8x8-inch or 9x9-inch square baking pan with butter, making sure to coat the corners. If you line it with parchment paper, you'll be able to lift the whole block out later for easier cutting.
- Melt the butter:
- In a large saucepan over low heat, melt the butter while stirring constantly to keep it from browning. You want it fully liquid and glossy, not sizzling or foamy.
- Add the marshmallows:
- Toss in the mini marshmallows and keep stirring until they melt completely into a smooth, stretchy mixture. This takes about 3 to 5 minutes, and patience here prevents scorching.
- Season the mixture:
- Remove the pan from heat and stir in the sea salt if you're using it. The warmth will dissolve the salt evenly throughout the marshmallow base.
- Fold in the cereal:
- Add the Rice Krispies and gently fold with a spatula until every piece is coated in marshmallow. Work quickly but carefully so the cereal doesn't crush.
- Press into the pan:
- Transfer the mixture to your prepared pan and press it down evenly using a buttered spatula or your hands. Firm pressure gives you clean, neat bars later on.
- Let it rest:
- Allow the base to sit at room temperature for about 10 minutes so it firms up just enough to support the chocolate layer. It should still be slightly warm to the touch.
- Melt the chocolate:
- In a microwave-safe bowl, combine the chocolate chips and oil, then microwave on medium power in 30-second intervals, stirring after each, until the mixture is smooth and glossy. Overheating can cause the chocolate to seize, so take it slow.
- Pour and spread:
- Pour the melted chocolate over the cereal layer and use an offset spatula or the back of a spoon to spread it evenly to the edges. Work quickly before the chocolate starts to set.
- Add the garnish:
- Immediately sprinkle rainbow sprinkles or chopped nuts over the wet chocolate so they stick. If you wait too long, they'll just roll off the surface.
- Let it set:
- Allow the treats to sit at room temperature for at least 1 hour, or refrigerate for 20 to 30 minutes until the chocolate is completely firm. Patience here means cleaner cuts and no smudging.
- Cut into bars:
- Once set, lift the block from the pan using parchment overhang or invert it onto a cutting board. Use a sharp knife to cut into 12 to 16 bars, wiping the blade between cuts for the neatest edges.
 Save
Save I'll never forget the look on my nephew's face when he bit into one of these for the first time—his eyes went wide, and he immediately asked if he could have another. It's moments like that which remind me why simple treats matter. These bars have become my go-to whenever I need something fast, crowd-friendly, and just a little bit indulgent.
How to Store Your Treats
I keep mine in an airtight container at room temperature, and they stay fresh for up to three days without losing their crunch. If your kitchen runs warm, the fridge is your friend—these hold up beautifully for a week when chilled. Just let them sit out for a few minutes before serving so the chocolate isn't too hard to bite through. I've also wrapped individual bars in wax paper and tucked them into lunchboxes, and they travel surprisingly well.
Flavor Variations to Try
One time I swapped the semisweet chocolate for white chocolate and added pastel sprinkles, and they looked like something from a bakery window. You can also stir a half teaspoon of vanilla extract into the melted marshmallows for a subtle boost of flavor. I've drizzled peanut butter over the chocolate layer before it sets, and the salty-sweet combo was a hit. If you're feeling adventurous, try using dark chocolate and a sprinkle of flaky sea salt on top—it turns these into a grown-up treat.
Serving Suggestions
These bars are perfect on their own, but I've also crumbled them over vanilla ice cream for an easy sundae topping. They pair beautifully with cold milk, hot coffee, or even a scoop of whipped cream on the side. I like to stack them on a platter for parties, and they always disappear first.
- Serve them chilled for a firmer, candy-bar-like texture.
- Wrap individual bars in clear cellophane and tie with ribbon for party favors or gifts.
- Pair with fresh berries or a drizzle of caramel sauce for a fancier dessert plate.
 Save
Save Every time I make these, I'm reminded that the best recipes don't need to be complicated to be memorable. They just need to taste good and bring people together.
Recipe Questions & Answers
- → Can I use regular marshmallows instead of mini marshmallows?
Yes, you can use regular marshmallows. Use about 40 large marshmallows as a substitute for one 10-ounce package of mini marshmallows. They may take slightly longer to melt completely.
- → How do I prevent the treats from sticking to the pan?
Grease the pan thoroughly with butter before pressing in the mixture. You can also line the pan with parchment paper, leaving an overhang on the sides for easy removal once set.
- → What type of chocolate works best for the topping?
Semisweet or dark chocolate chips work wonderfully. You can also use milk chocolate for a sweeter finish or white chocolate for a festive variation. Adding a teaspoon of oil helps create a smooth, glossy coating.
- → How long do these treats stay fresh?
Store in an airtight container at room temperature for up to 3 days or refrigerate for up to a week. For longer storage, you can freeze them for up to 2 months in a freezer-safe container.
- → Can I add other flavors or mix-ins?
Absolutely! Stir in vanilla extract, peanut butter, or a pinch of cinnamon to the melted marshmallows. You can also fold in chocolate chips, dried fruit, or crushed cookies into the cereal mixture for extra texture and flavor.
- → Why is my chocolate coating not setting properly?
Ensure the cereal base has cooled completely before adding chocolate. If the room is too warm, refrigerate the treats for 20-30 minutes to help the chocolate firm up quickly. Avoid adding too much oil to the chocolate as it can prevent proper setting.