 Save
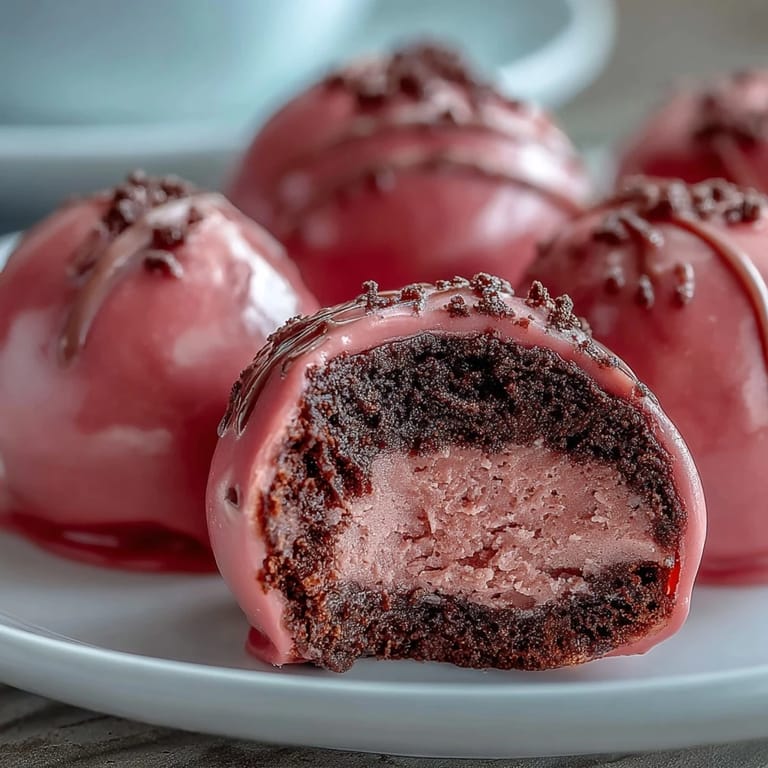
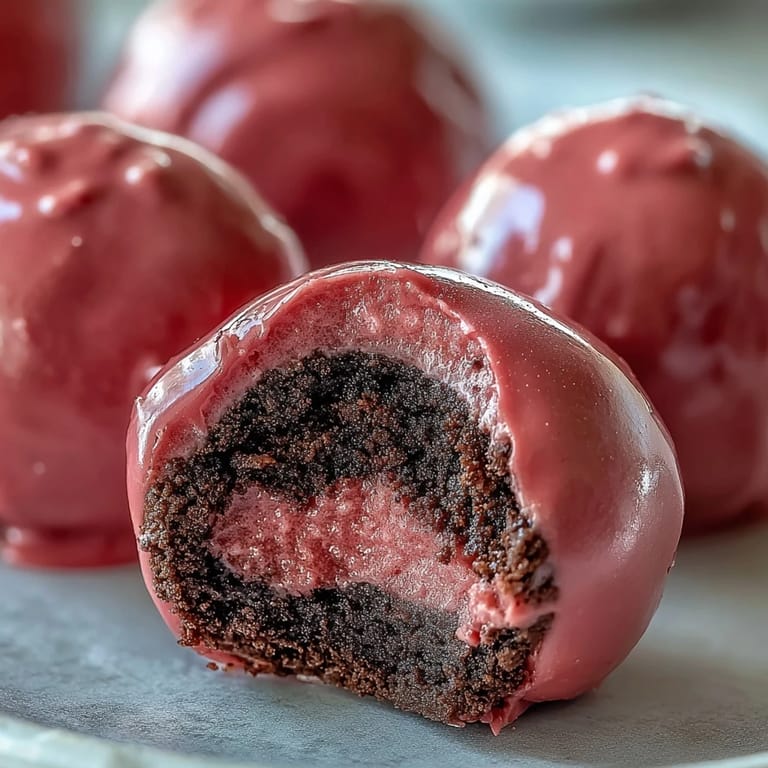
Save My sister once brought these to a baby shower, and I watched guests hover around the dessert table like moths to a flame. The pink candy shell caught the light in a way that made them look almost too pretty to eat. But once someone cracked through that glossy coating and tasted the rich Oreo center, the plate emptied in minutes. I begged her for the recipe that night, and she laughed because it only had two real ingredients.
I made my first batch for a springtime picnic, tinting the coating a soft blush pink that matched the cherry blossoms overhead. My friend bit into one and paused mid-chew, eyes wide, asking what magic I had worked. There was no magic, just good cream cheese and a sleeve of Oreos, but I let her believe I had a secret. That day, I realized presentation can turn the simplest recipe into something people remember long after the last crumb disappears.
Ingredients
- Oreo cookies: Use the whole cookie, filling and all, because that creamy center adds sweetness and helps bind the truffle mixture without extra sugar.
- Cream cheese: Let it sit on the counter until it is soft enough to blend smoothly with the cookie crumbs, or you will end up with lumps that refuse to cooperate.
- Pink candy melts: These create a candy shop coating that hardens beautifully at room temperature and stays glossy without tempering like real chocolate.
- Vegetable shortening: A tiny spoonful thins the melted candy just enough to make dipping easier and gives the coating a professional sheen.
- Sprinkles or edible pearls: Optional, but they add a playful touch that makes each truffle feel like a miniature work of art.
Tired of Takeout? 🥡
Get 10 meals you can make faster than delivery arrives. Seriously.
One email. No spam. Unsubscribe anytime.
Instructions
- Crush the cookies:
- Pulse the Oreos in a food processor until they turn into fine, dark crumbs that smell like childhood. If you do not have a processor, seal them in a bag and roll them into submission with a rolling pin.
- Mix the truffle base:
- Stir the softened cream cheese into the crumbs with a sturdy spatula until the mixture is uniform and slightly sticky. It should hold together when you press it between your fingers.
- Shape the truffles:
- Scoop tablespoon-sized portions and roll them firmly between your palms into smooth balls. Line them up on a parchment-covered baking sheet like little soldiers waiting for their candy armor.
- Chill until firm:
- Refrigerate the truffles for 30 minutes or freeze them for 15 if you are impatient like me. They need to be cold and solid or they will crumble when you dip them.
- Melt the candy coating:
- Heat the candy melts in 30-second bursts at medium power, stirring after each interval until the mixture is silky and smooth. Stir in the shortening if you want a thinner, shinier coating that slides off the fork easily.
- Dip each truffle:
- Use a dipping fork or regular fork to lower each chilled ball into the melted candy, turning gently to coat all sides. Tap the fork on the edge of the bowl to let excess coating drip away, then slide the truffle back onto the parchment.
- Decorate while wet:
- Scatter sprinkles or press edible pearls onto the coating while it is still tacky. Work quickly because the candy starts to set within moments.
- Let the coating harden:
- Leave the truffles at room temperature until the coating firms up, or speed things along with 10 to 15 minutes in the fridge. The shell should feel smooth and solid to the touch.
- Serve and store:
- Serve these chilled for the best texture contrast between the cold creamy center and the crisp shell. Keep leftovers in an airtight container in the refrigerator for up to a week, though they rarely last that long.
 Save
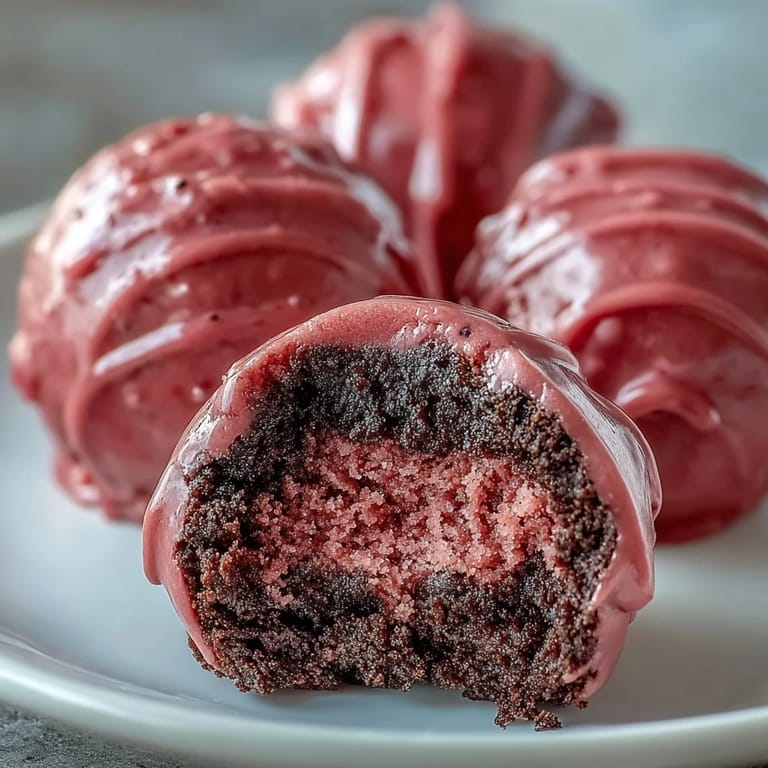
Save One winter evening, I made a triple batch for a holiday cookie exchange and arranged them in a white bakery box lined with tissue paper. When I opened the box at the party, someone gasped and said they looked too beautiful to eat. But within minutes, people were reaching for seconds, and I overheard one guest whispering the recipe into her phone. That is when I knew this simple treat had become more than just a dessert, it was a conversation starter, a compliment magnet, a little edible gift that made people feel special.
Customizing Your Truffles
You can swap the pink candy melts for any color that suits your occasion, from pastel blue for a baby shower to deep red for Valentine's Day or classic white for an elegant wedding dessert table. I have even drizzled contrasting colors over the hardened coating for a marbled effect that looks fancy but takes only seconds. The beauty of this recipe is that the flavor stays constant while the appearance bends to fit whatever celebration you have in mind.
Texture Tweaks and Add-Ins
For a bit of crunch, fold finely chopped toasted pecans or shredded coconut into the cream cheese mixture before rolling the truffles. I tried this once on a whim, and the added texture made each bite more interesting without overwhelming the classic Oreo flavor. Just be mindful of nut allergies if you are serving a crowd, and label your truffles clearly so everyone knows what they are biting into.
Serving and Presentation Ideas
These truffles shine when arranged on a tiered dessert stand or tucked into individual paper cups for a party favor that guests can take home. I like to nestle them in shallow boxes lined with colorful tissue, then tie the box with a ribbon that matches the candy coating. They travel well and hold up beautifully at room temperature for a few hours, making them ideal for potlucks, bake sales, or any gathering where you want to arrive with something that looks as good as it tastes.
- Chill the truffles thoroughly before dipping to prevent the coating from sliding off or cracking.
- Use a toothpick to swirl leftover candy melts into decorative drizzles once the base coating has set.
- Store finished truffles in a single layer to avoid smudging the decoration or sticking together.
 Save
Save Every time I make these, I am reminded that the best recipes are not always the most complicated. Sometimes all you need is two ingredients, a little patience, and the willingness to share something sweet with the people you love.
Recipe Questions & Answers
- → Can I use a different cookie instead of Oreos?
Yes, you can substitute with other sandwich cookies like vanilla or chocolate wafers. The flavor profile will change, but the technique remains the same. Ensure the cookies crush into fine crumbs for a smooth texture.
- → How do I prevent the candy coating from cracking?
Make sure the truffles are thoroughly chilled before dipping and avoid temperature shock. Let the melted candy cool slightly before dipping, and don't refrigerate immediately after coating—let them set at room temperature first.
- → Can I make these ahead of time?
Absolutely. These truffles store well in an airtight container in the refrigerator for up to one week. You can also freeze the uncoated balls for up to three months and dip them when needed.
- → What if I don't have a food processor?
Place the cookies in a sealed zip-top bag and crush them with a rolling pin until fine crumbs form. This manual method works just as well, though it may take a few extra minutes of effort.
- → Why add vegetable shortening to the candy melts?
Vegetable shortening thins the candy coating, making it easier to dip and creating a smoother, shinier finish. It's optional but recommended for a professional-looking result.
- → Can I use different colors for the coating?
Yes, candy melts come in many colors, or you can tint white candy melts with oil-based food coloring. This makes them perfect for customizing to match party themes or holidays.