 Save
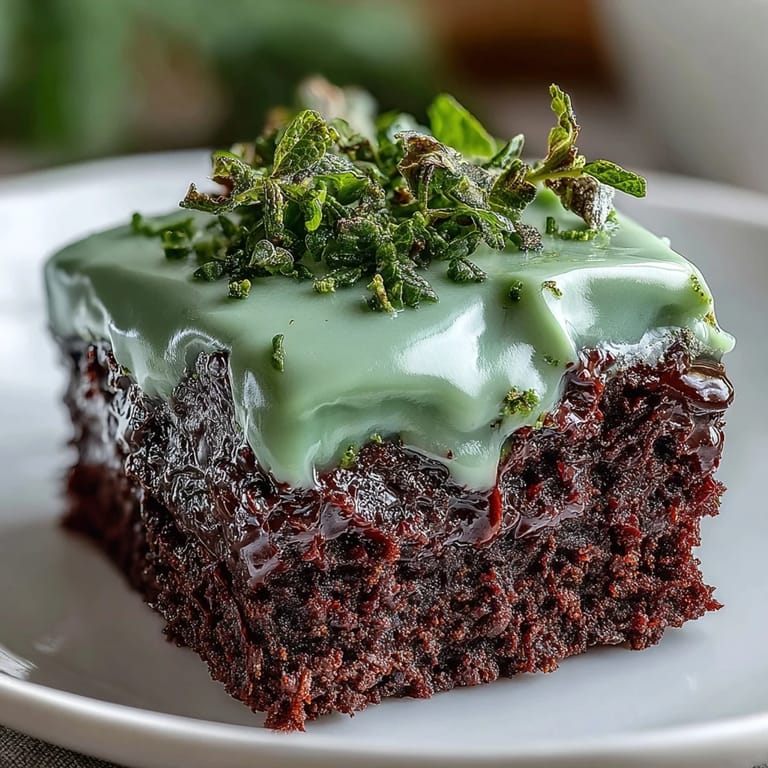
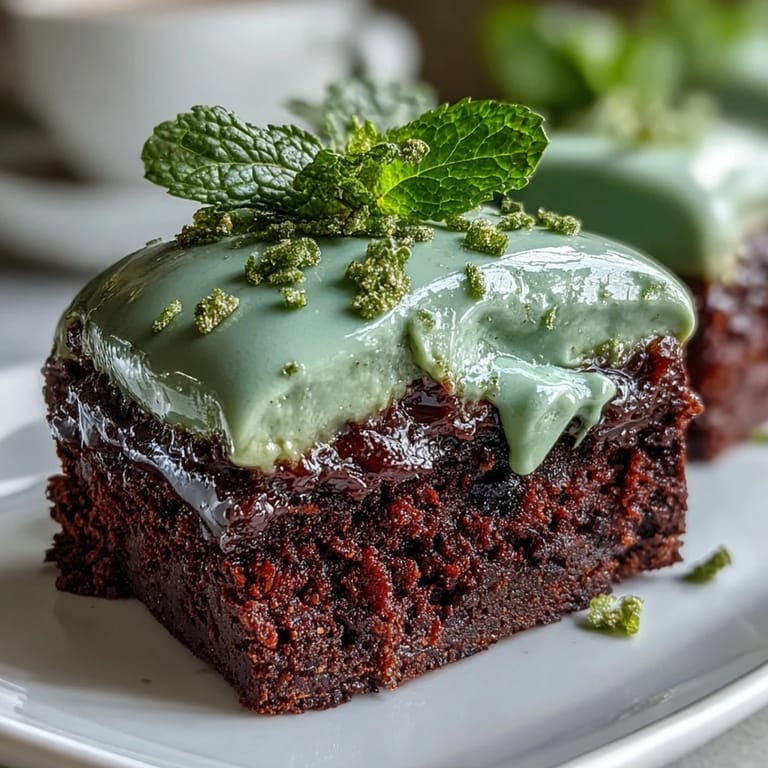
Save My kitchen smelled like a chocolate factory the afternoon my neighbor knocked on the door holding a shamrock cookie cutter she'd just bought, asking if I wanted to make something festive for St. Patrick's Day. I had a batch of brownies cooling on the rack, and suddenly the idea of turning them into little green-topped shamrocks felt like exactly what March needed. What started as a casual afternoon baking session became this recipe that somehow makes even skeptics excited about a holiday dessert.
I made these for my daughter's classroom party, and watching twenty kids' faces light up when they realized their brownies were shamrock-shaped felt like pure magic. One kid asked if the green icing was made from actual four-leaf clovers, and his genuine disappointment when I explained it was food coloring made me laugh so hard I nearly dropped the tray. That's when I realized this recipe isn't just about the taste—it's about creating a moment.
Ingredients
- Unsalted butter: Use softened butter for the icing so it blends smoothly, and keep the melted butter for brownies warm but not hot when you mix in the sugar and eggs, or you'll end up cooking them.
- Granulated sugar: This sweetens the brownies and helps them develop that slightly crispy edge while keeping the center tender.
- Large eggs: Room temperature eggs blend more easily with the other ingredients and create a better texture than cold ones straight from the fridge.
- Vanilla extract: A full teaspoon goes into both the brownies and the icing, giving everything a subtle warmth that balances the chocolate and green coloring.
- Unsweetened cocoa powder: Don't grab the sweetened kind by accident—you want the pure stuff so you control the sweetness level.
- All-purpose flour: Measure it by spooning it into your measuring cup and leveling it off rather than scooping directly, or you'll pack in too much flour and end up with dense brownies.
- Salt and baking powder: These tiny amounts might seem unnecessary, but salt amplifies the chocolate flavor and baking powder gives the brownies just enough lift.
- Powdered sugar: Sifting it before mixing prevents lumps in your icing, which sounds fussy but makes a real difference in the final look.
- Milk: A couple tablespoons thins the icing to spreadable consistency without making it taste like butter.
- Green food coloring: Add it drop by drop so you don't overshoot and end up with icing that looks like a neon sign.
Tired of Takeout? 🥡
Get 10 meals you can make faster than delivery arrives. Seriously.
One email. No spam. Unsubscribe anytime.
Instructions
- Heat and melt your butter gently:
- In a medium saucepan over low heat, watch the butter until it's completely melted and just starting to smell nutty. This takes about two minutes, and listening for the sizzle to soften tells you when to pull it off the heat.
- Mix the wet ingredients until smooth:
- Stir the warm melted butter together with sugar, eggs, and vanilla extract until everything's combined and smooth, which should take about a minute of stirring. The warmth will help the sugar dissolve and the mixture should look shiny and cohesive.
- Fold in the dry ingredients carefully:
- Add the cocoa powder, flour, salt, and baking powder all at once, then stir just until you don't see any streaks of flour anymore. Overmixing develops gluten and makes brownies tough, so stop while you can still see a few flour specks if you're nervous.
- Prepare your pan and pour the batter:
- Line an 8x8-inch baking pan with parchment paper, leaving some overhang on the sides so you can lift the whole brownie slab out later. Pour the batter in and smooth the top with a spatula so it bakes evenly.
- Bake until just set:
- Bake at 350°F for 25 to 30 minutes—the exact time depends on your oven, so start checking around 25 minutes. A toothpick inserted in the center should come out with a few moist crumbs clinging to it, not clean and not covered in wet batter.
- Cool completely before cutting:
- Leave the brownies in the pan on a wire rack for at least 30 minutes, though waiting longer helps them firm up so they hold their shape when you cut them. Warm brownies crumble no matter how careful you are.
- Make the icing while waiting:
- Beat together powdered sugar, softened butter, milk, and vanilla extract until smooth and spreadable. Add green food coloring one or two drops at a time, stirring after each addition so you nail the shade you want instead of overshooting into neon.
- Cut out shamrock shapes:
- Once the brownies have cooled completely, use the parchment paper overhang to lift them out of the pan as one flat slab. Press your shamrock cookie cutter straight down without twisting, wipe it clean between cuts so you get sharp edges, and lift straight up.
- Frost and decorate:
- Spread a spoonful of green icing onto each shamrock brownie with a small spatula or butter knife, then immediately add green sprinkles or sanding sugar if you want them to stick. Let the icing set for 15 minutes before serving so it firms up slightly.
 Save
Save I brought these to a potluck once where everyone else brought store-bought desserts, and somehow these humble brownies became the thing people talked about for weeks. It wasn't the fancy presentation or the perfect icing—it was that someone took the time to make something a little special for St. Patrick's Day.
Troubleshooting Common Issues
If your icing looks separated or grainy after mixing, the butter might have been too cold. Just let it sit at room temperature for a few minutes and beat it again—butter and powdered sugar usually cooperate once everything's at the same temperature. If your shamrocks came out with rough, crumbly edges, the brownies were probably still a bit too warm when you cut them, so patience really does pay off here.
Making Them Ahead and Storing
You can bake the brownies up to two days ahead and frost them the morning you're serving, which takes the stress out of last-minute cooking. Just layer them between parchment paper in an airtight container so they stay moist and the icing doesn't stick to anything it shouldn't.
Creative Variations and Add-Ins
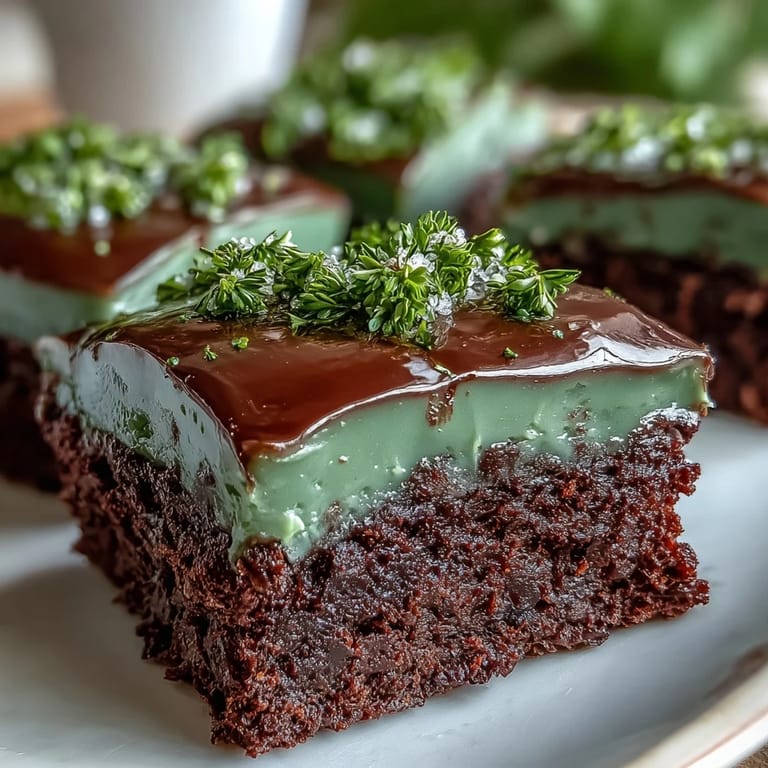
Once you nail the basic recipe, it becomes a canvas for whatever sounds good that day. I've stirred in mini chocolate chips right before pouring the batter in, mixed chopped walnuts into the dry ingredients, and even added a tablespoon of espresso powder to deepen the chocolate flavor. The icing takes experimentation well too—try adding a tiny bit of mint extract for a chocolate-mint combo, or use it as a blank slate for whatever color fits your celebration.
- Keep your cookie cutter clean between cuts by wiping it on a damp cloth so you get sharp, clean shamrock shapes every time.
- If your icing is too thick to spread smoothly, add milk one teaspoon at a time until you reach the right consistency.
- Room temperature ingredients mix together more easily and create a smoother, more cohesive batter.
 Save
Save These shamrock brownies prove that holiday baking doesn't have to be complicated to feel special. They're the kind of dessert that makes people smile before they even take a bite.
Recipe Questions & Answers
- → How do I ensure brownies are moist and fudgy?
Use the right balance of butter, sugar, and eggs without overmixing. Bake until a toothpick reveals moist crumbs, not dry batter.
- → What is the best way to make the green icing smooth?
Beat powdered sugar with softened butter, milk, and vanilla extract thoroughly before gradually adding green food coloring for even color and texture.
- → Can I prepare these brownies in advance?
Yes, bake and cool brownies fully before cutting and icing. Store in an airtight container at room temperature for up to three days.
- → What tools are essential for shaping the brownies?
A shamrock-shaped cookie cutter works best; using a metal cutter and cleaning it between cuts ensures clean edges.
- → Are there ways to add texture to the brownies?
Incorporate mini chocolate chips or chopped nuts into the batter before baking to add extra crunch and flavor.